Troubleshooting Homemade Bean To Bar Making Issues

Image by Bean To Bar World.
Are you new to making chocolate from scratch? Bean to bar chocolate making can be intimidating, but it shouldn’t be. It’s quite simple really. Here are a few helpful points that you may not have considered before.
Find a reputable cocoa distributor
Everyone who takes my online Bean To Bar Making Lessons wants to know where to get the BEST cacao. There really is no best cacao, but I can direct them towards distributors that carry very good to better quality cacao than you will find at any generic ingredient supply company. In my nearly 15 years of experience, suppliers that sell a range of chocolate and cacao supplies for chocolatiers (such as Callebaut, Cacao Barry, and other popular brands) do not carry high quality cacao nibs or beans. And I definitely would not be buying them from Amazon or wide ranging online food supply websites. For high quality cacao, I would go to a distributor who specializes in only cacao, or cacao and fine coffee as well. You will have a much better chance finding some good quality cacao this way.
The Bean To Bar World App has a setting where you can switch on only the cacao growers and distributors listings. This is a good place to start in regards to locating fine cacao. You may not like some of the origins, and this may depend on your subjective preference or your skill level. I can’t guarantee you will love every cacao you can find from distributors on the app, but it is a great place to start. There are some suppliers that have some great cacao, and some not so great cacao.
Also keep in mind that if you buy cacao from the same co-op used by a specific bean-to-bar maker, don’t expect your chocolate to taste the same. There is much more to it than starting with the same cacao. As well, not all cacao that comes from a specific region is of the same quality (perhaps different fermentation methods or different farms).
An important thing to remember as well as a beginner, is that there really isn’t cheaper (more affordable) high quality cacao. It’s expensive, and usually starts around $11-$13 CAD/kilo. If you’re a small-scale micro batch maker, and you found some 5 kilo bags around $6 a kilo, I would be expecting a low-flavour profile bitter bean. However, if you are in a country that grows cacao, and possibly going directly to a grower, then that changes the cost, but this is not the case for most people.
Also keep in mind that fair trade certification and organic certification IS NOT synonymous with high quality cacao. Both high and low quality bulk cacao can be sold within a fair-trade business relationship (certified or not), and bulk bitter mediocre flavoured cacao can also be organically certified. If these are crucial to you, then look for high quality cacao, and then cancel out the origins that are not fair trade or certified organic. By making fair-trade and organic certification your first priority, you will lose out on a ton of very wonderful high quality cacao. Keep in mind that much of the fine cacao out there can be fairly traded without the certification, and often maintained within even more “fair” business relationships than any fair-trade certified cacao.
So, go to a reputable distributor (or grower if possible), and then go from there. Then eliminate the ones that are not transparent about their business practices, or do not grow organically if that is a must have. Keep in mind also that not being “fair-trade” certified or not does not necessarily mean it is made with “slave or child labour” which seems to be conflated with all cacao grown that is not sold at fair-trade prices. Most cacao farms are family run farms, with multiple generations doing what these people have done for a long time: work together growing cacao and other products. To pass up farms like this who may be growing wonderful cacao is quite a disservice to the fine cacao industry. The point is to ask more questions, and be more informed than to make superficial decisions based on market and consumer trends. There are people behind these cocoa beans you buy - get to know what’s important to them as well.
Don’t worry too much about “variety”
Now, don’t get me wrong. The more you know about your cacao (where it comes from, what co-op, who grows it, information on the broker or distributor) the better. However, many people put too much emphasis on genetics and variety when choosing to buy beans or when choosing a chocolate bar. Variety matters. Genetics matters. That said, it’s more complicated than you think.
Gone are the days where we think of cacao as either criollo, Trinitario, and Forastero. Today there are at least 10 wild varieties of cacao. As well, within a variety are sub varieties or divergent populations of trees that may have very different attributes, which includes cacao bean flavour. If you are a maker, then yes, it’s good to know as much about the cacao you can that you will be using to make your chocolate. But don’t get hung up on cacao variety. What’s more important is the quality of the cacao that you have in your hands. It doesn’t matter if you are told it is mostly Nacional, Criollo, or Amelonado. What matters is what that cacao tastes like and what you can do with it. There is cacao that may fall under the umbrella of Amelonado, and tastes very basic. On the other hand, other trees that are also part of this Amelonado umbrella can taste very unique and floral and aromatic.
Also keep in mind that most cacao out there today is a mix of many strains or varieties of cacao either recently or generations of blending different varieties. Let me tell you a story about heirloom tomatoes. Now, I love tomatoes. And I love buying heirloom or locally grown tomatoes of unique varieties you will not find in the grocery store. Why? The flavour is incredible! Unlike any tomato you can ever come across in the grocery store. So good you can eat them like an apple. Now, some boutique grocery stores are starting to sell the same heirloom tomatoes varieties. Have you tried them? They taste like water! Nearly the same as the flavourless big round red tomatoes you normally purchase. And these tomatoes are genetically more similar than most cacao of the same wild variety type. They are grown from the same strain of seeds. The problem is how they were grown, when they were harvested, and how they have been stored before you eat them. That can make the difference between a powerfully flavoured tomato like no other, and a very basic flavourless tomato. Same genetics, different flavour.
The same is true for cacao. Finding a source of cacao that was harvested when ripe, fermented properly, stored and dried properly for optimal flavour is what is important regardless of what variety it belongs to. If you come across some beans that you are told are some kind of Amelonado variety, and you skip over them for that fact alone, you may have missed out on some great cacao! And if you are only seeking out cacao varieties that are trending on Instagram (probably the worst place to get any information on fine chocolate and cacao), then you be disappointed. Focus on the batch of beans itself, and then find out more on the cacao. Don’t just go chasing trendy varieties and heirlooms so that you can ride the tailcoat of the those names.
Don’t let your unroasted cocoa beans sit around forever
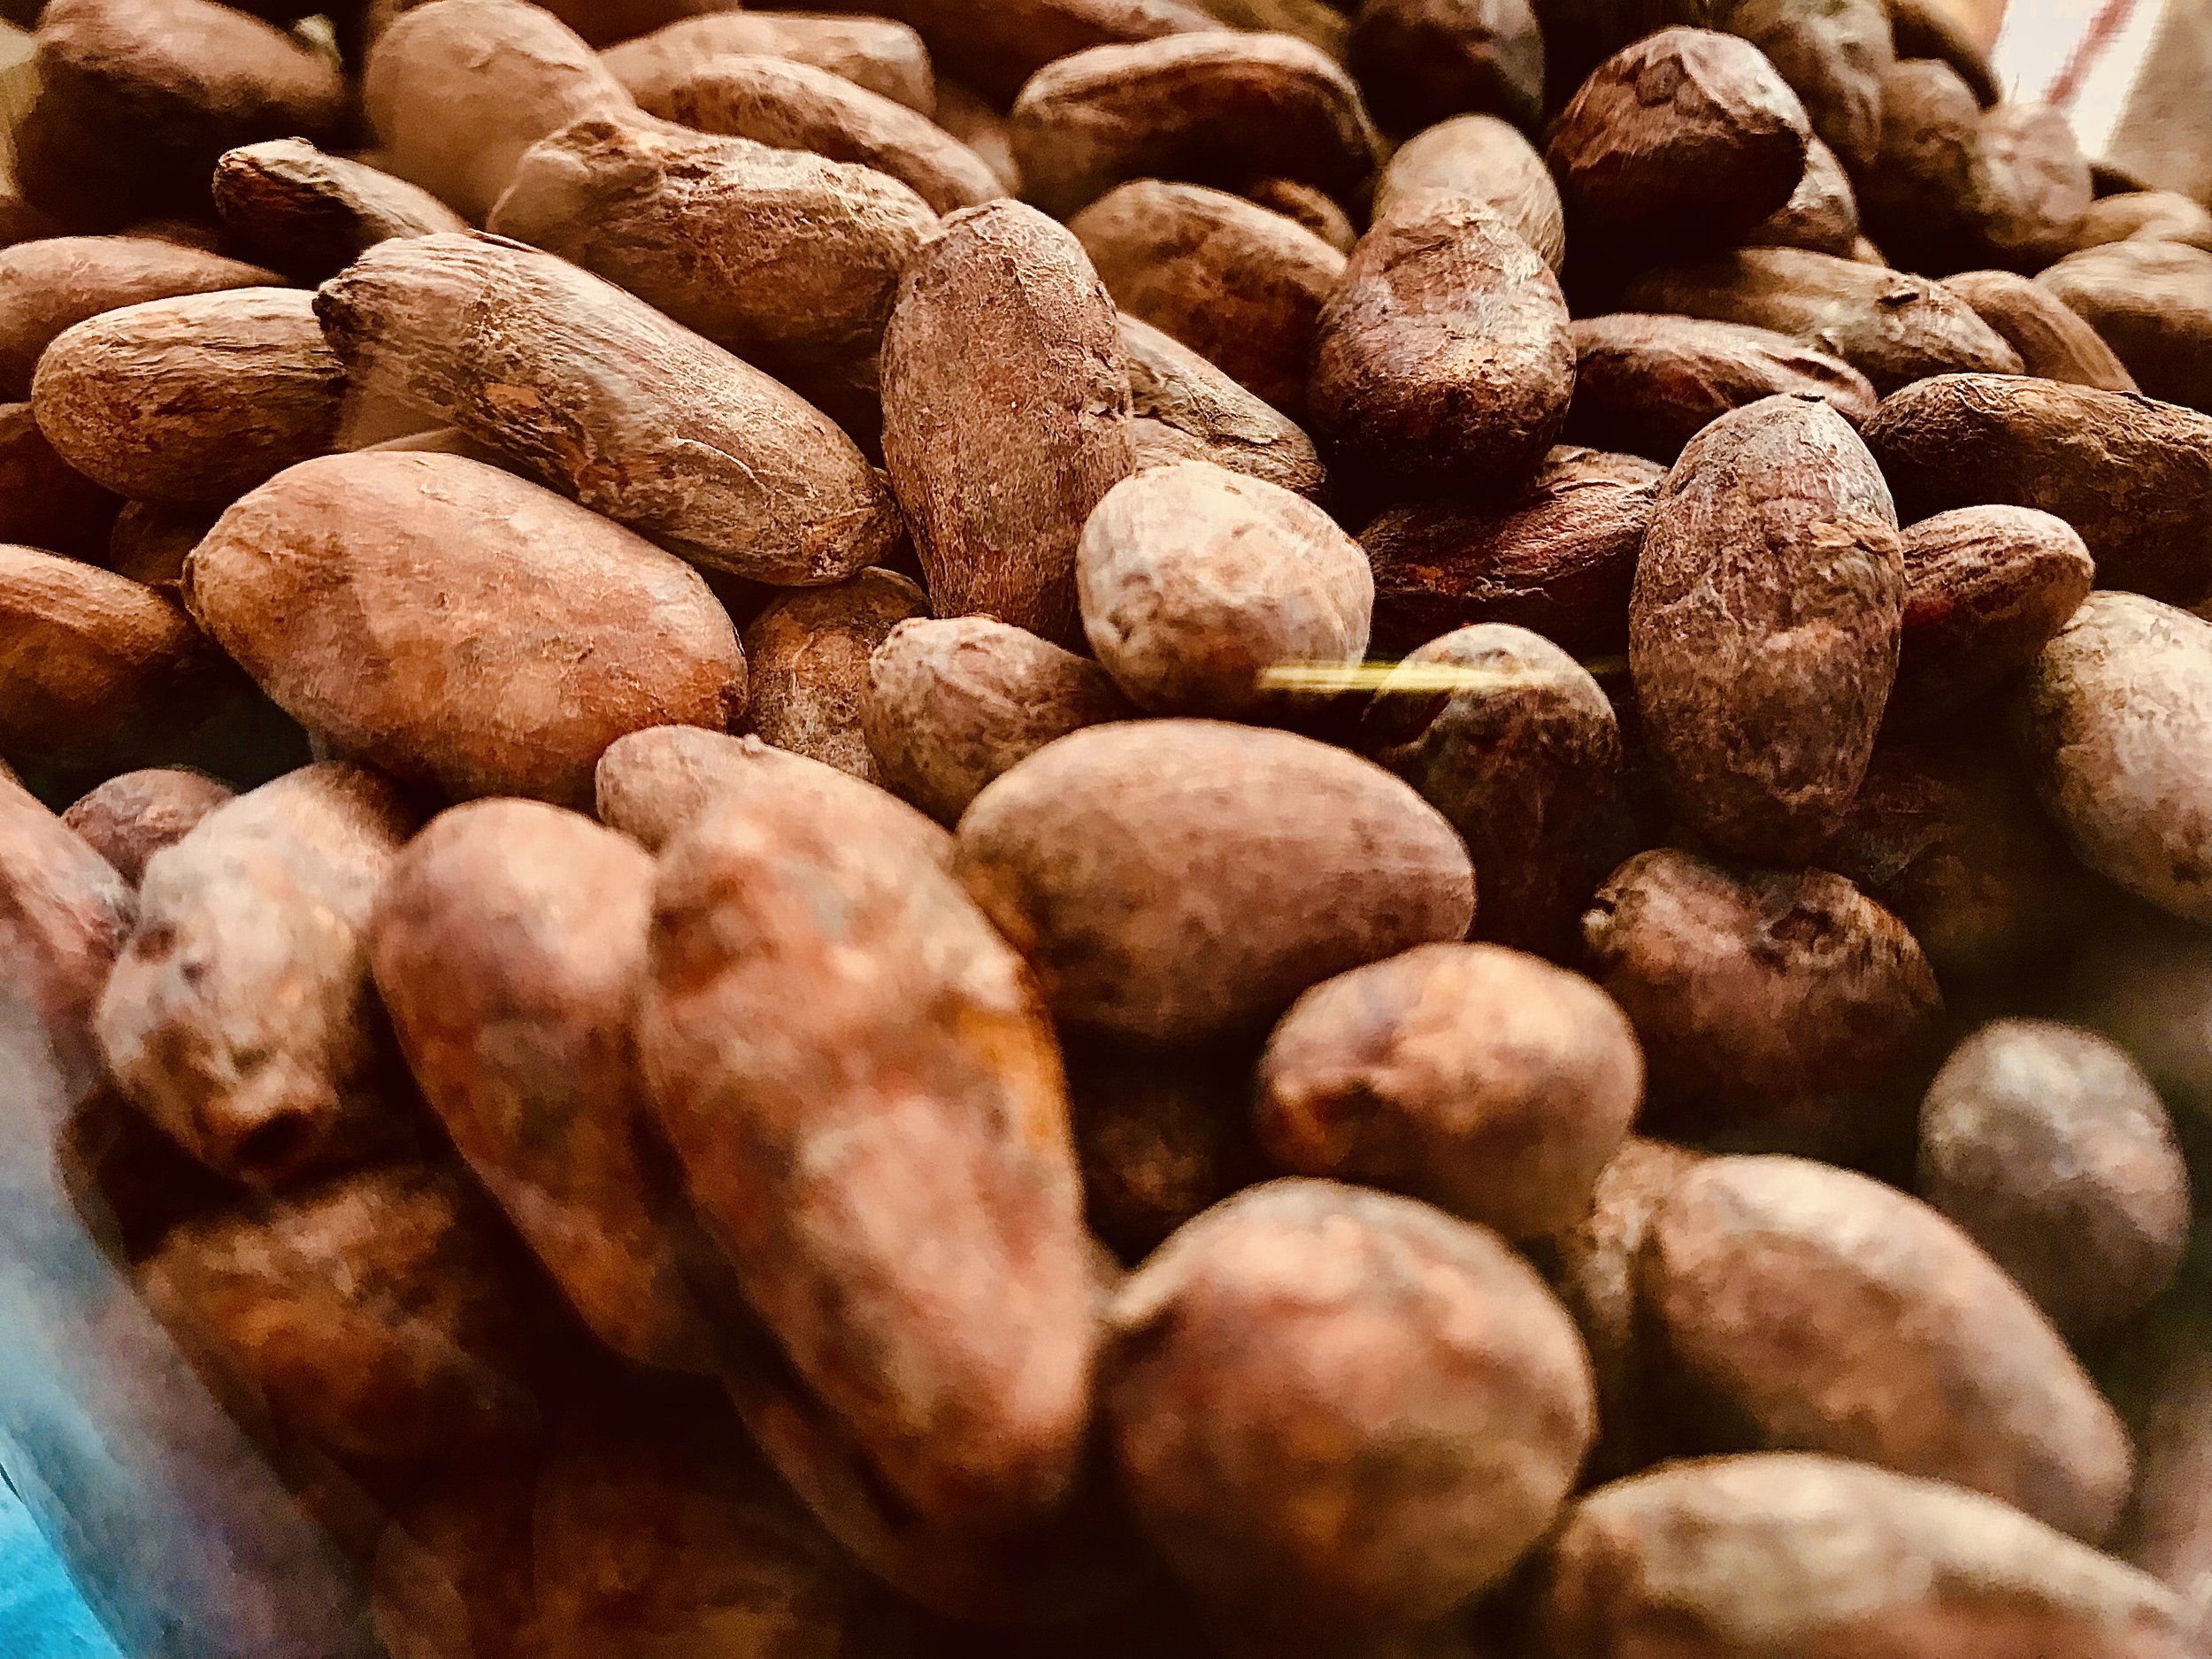
Image by Bean To Bar World.
Don’t get too eager as a beginner bean-to-bar chocolate maker and buy tons of cacao from all different origins if you can’t use them up quickly enough. Some cacao comes well sealed in vacuum packed or sealed packaging. These can generally stay around for under a year. Cacao that comes in burlap sacks or does not appear to be sealed in an air-tight package should be used up within weeks ideally.
There is a pesky creature that you will want to avoid and that is the cacao moth (AKA tobacco moth) also known as Ephestia elutella. I’ve only encountered it once, and it’s something that will get worse the longer your cacao beans are sitting around. This is one reason why it’s good to sort your cacao beans before roasting, because if you see any questionable ones with some sort of white fluffy spider web like material coming out of some, you may open it up to see some little cacao moth larvae. The long the beans sit around, the more these little moths will eat away at your cacao. One option is to freeze the cacao, and this can definitely slow them down and kill some (although possibly not the eggs). This is just another reason to use your cacao beans sooner than later, especially if not vacuum packed.
Another reason is flavour degradation. If you do have beans in burlap sacks, you should transfer them into more air-tight containers or packaging if you will need to hold them around for a while. Exposure to air will not only reduce the intensity of the aromas within the beans, but beans will also absorb odours in the air over time that you may not even be aware of. Cocoa beans are delicate. They require a more delicate roast than coffee beans, and are can very easily absorb and lose their wonderful aromas if not kept properly.
So they key here is, especially if you don’t plan on making lots of chocolate right away, is to buy what you think you will realistically use within 6 months or so. Now, don’t throw out what has been sitting around longer. Like I said, if contained well can still contain many of the wonderful aromas you initially purchased it for. Just don’t be surprised if you have cacao that has been around for a year or more that is not as vibrant as when you first used it.
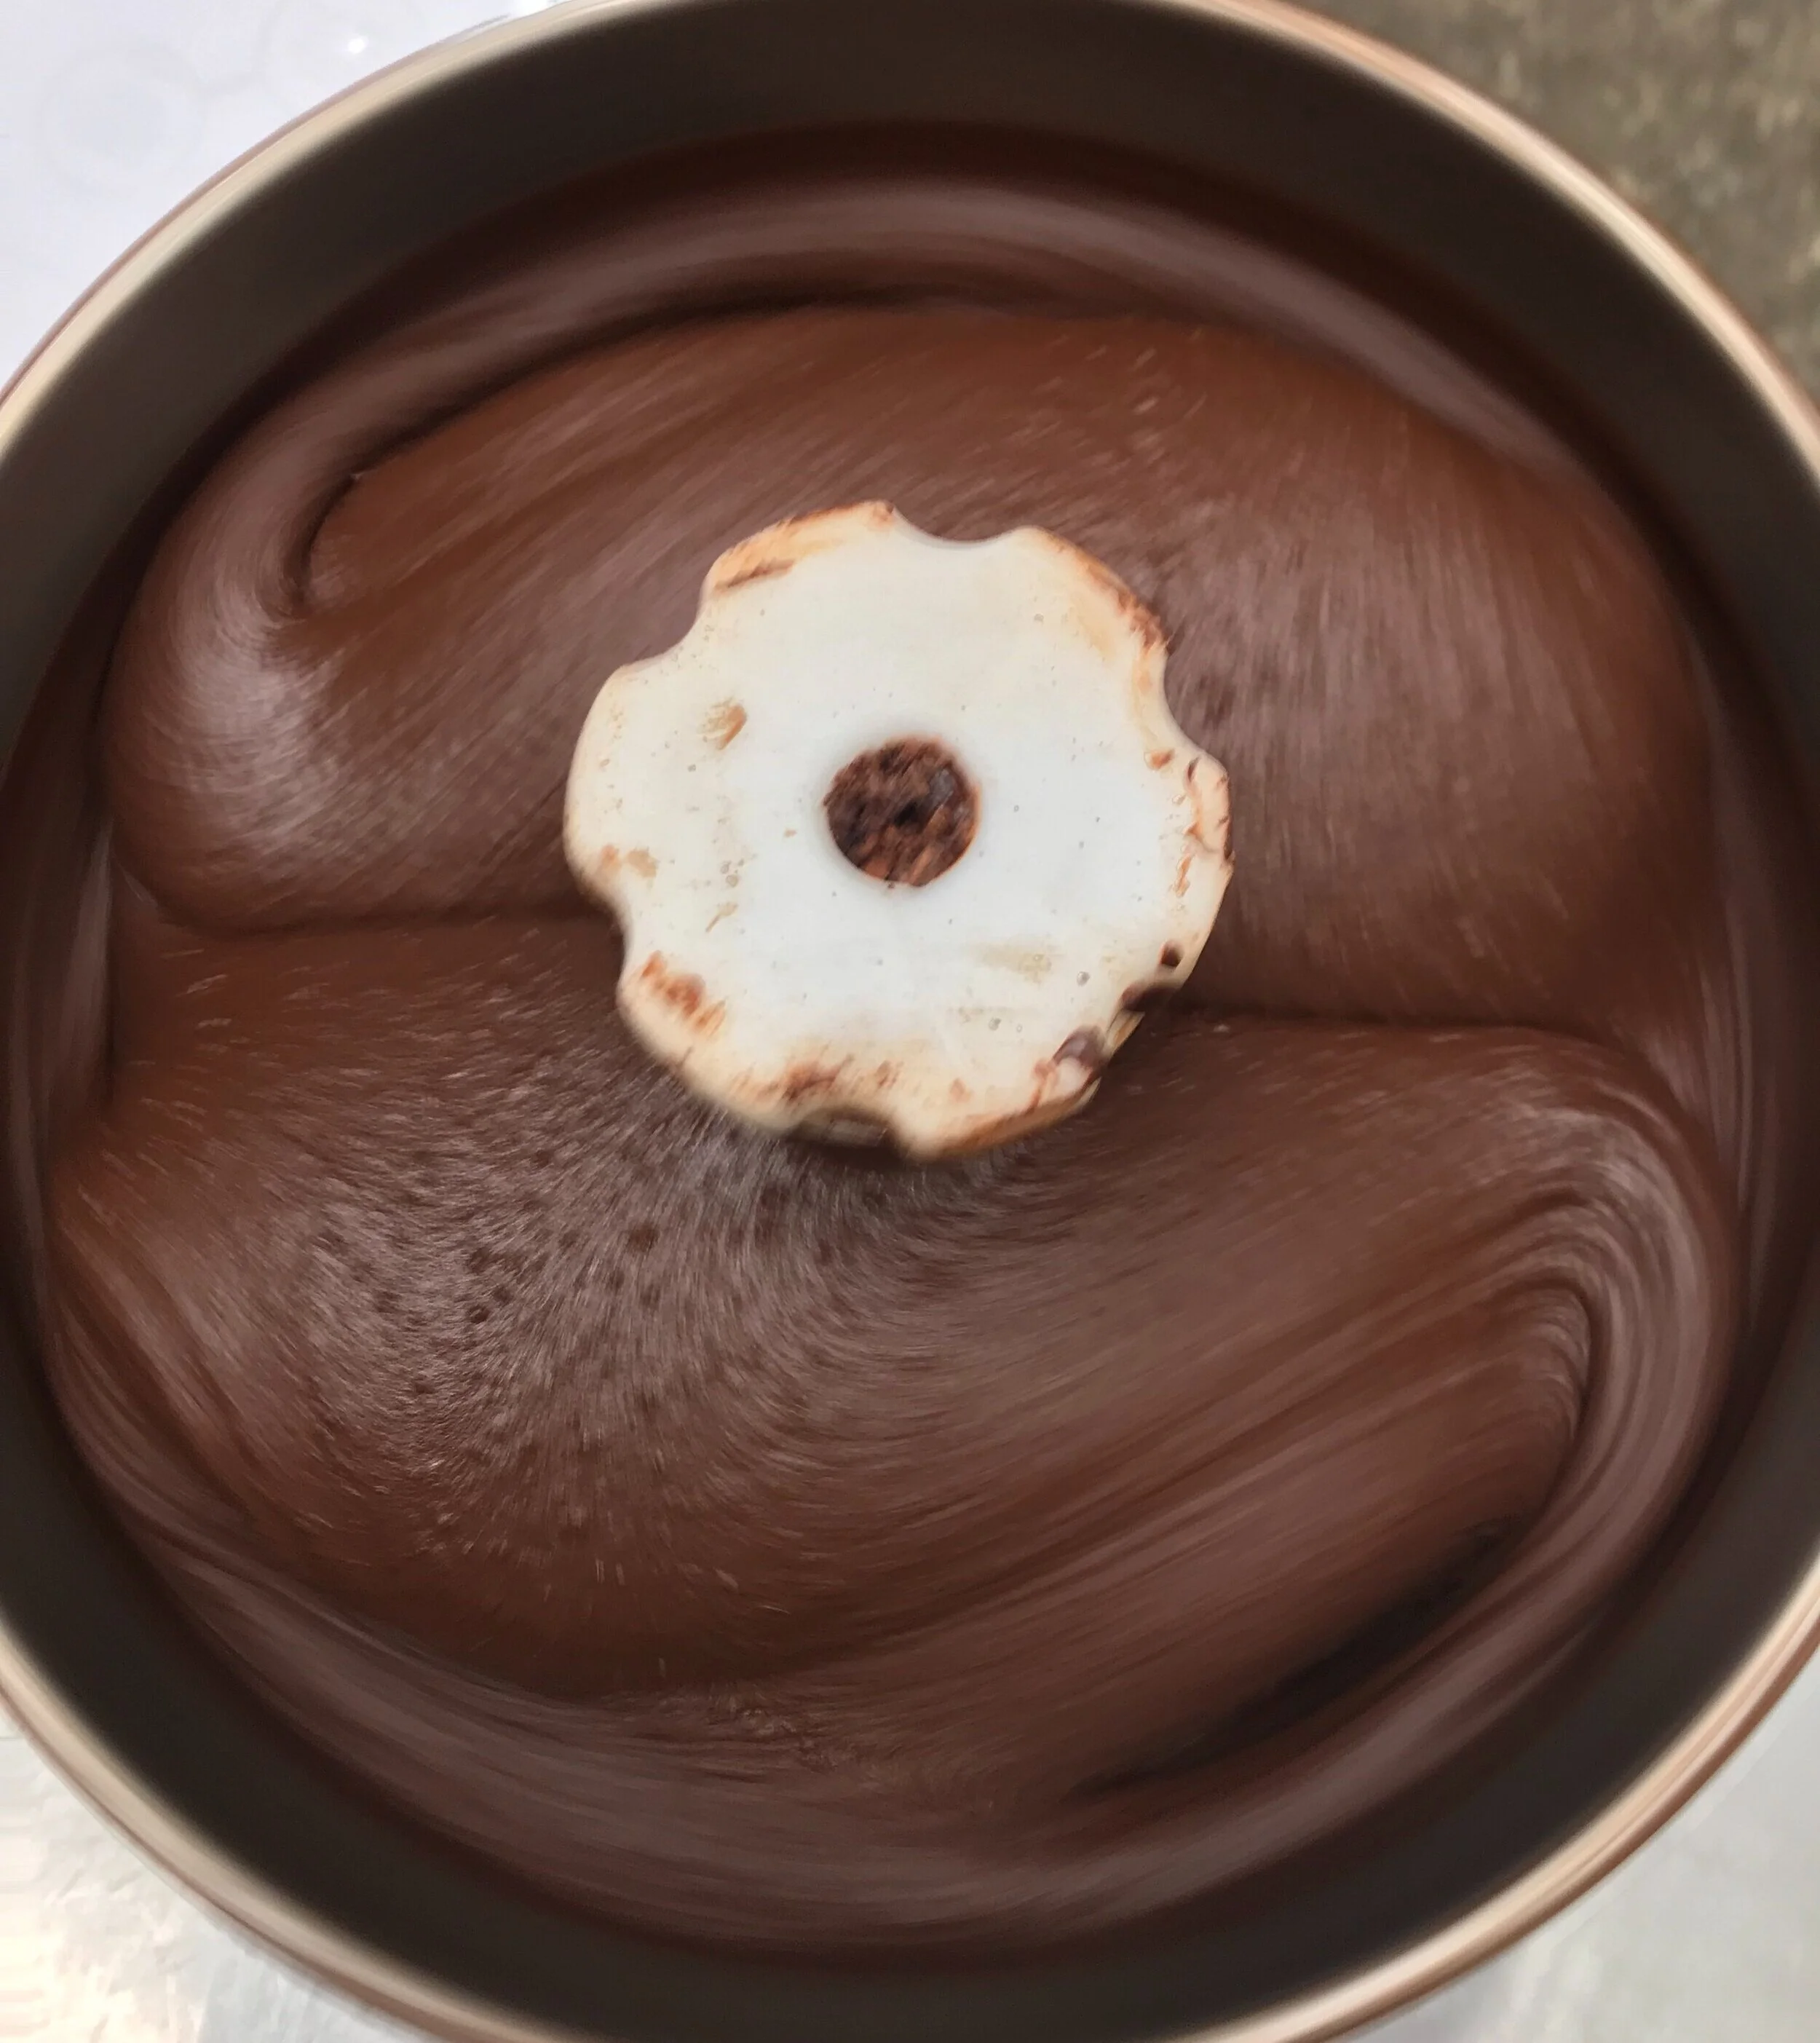
Make sure your cacao and sugar are very dry
Moisture (water) and chocolate do not go hand in hand. Unless you are making a ganache, you do not want any water or moisture in your chocolate. You can avoid moisture in your chocolate by roasting your beans (which you should do anyway for flavour development and sanitizing them), and using only dry crystalline sugar. If you have tried making chocolate using raw (unroasted) cacao, you will know that the texture is not the same. This is because even a 1% rise in moisture level within the chocolate, from any source, will cause the chocolate to become more viscous (thicker) and the texture will be more chalky.

Image by @lauraadaiphoto
Generally, roasting your cacao beans for 20-30 minutes at 250°C to 260°C should suffice. If the sugar you use clumps when you squeeze a fistful, there is too much moisture in it and you should try and dry it out in the oven before using it. Definitely do not use brown sugar (that contains molasses), or any syrupy sweeteners (molasses, honey, maple syrup). You may use crystalized maple syrup or honey, but not in the sticky liquid form. Doing so will cause your chocolate to become very thick and unable to mold it properly. As well, the texture of the chocolate will not be silky smooth and creamy.
I have noticed that bean to bar chocolate made in very hot humid regions of the world (often where cacao is grown), tends to be more chalky than chocolate made in colder/drier climates. This is likely due to humidity levels. Many areas in South America or Southeast Asia not only are more humid most of the year, but the humidity and temperature control in the kitchen where the chocolate is made is also not as well controlled sometimes. If you are making chocolate, you do want to work in a kitchen that is at least 20°C or lower, and not too humid. The humidity may not directly impact the chocolate in the refiner much, but if your sugar and cacao/nibs are exposed to humid air they may begin to absorb some of that moisture. This will end up raising the humidity in your chocolate ever so slightly, but with a slight increase comes great impact on the texture and melt of the chocolate.
Stop fooling around with roasting
You’re making chocolate, not coffee. Roasting isn’t the only factor you can play around with. One big mistake many unseasoned beginners make is playing around too much with the roasting of the cacao. as I mentioned earlier, reaching a bean temperature of 250-260°C is good enough. Once you have made chocolate a few times, and don’t have major issues with flavour or texture, then you can begin playing with roasting temperatures and duration.
However, too many beginners under-roast or burn their cacao because they have no idea what temperature to roast at. There are many variables to pay attention to, and there is no need to stress over roasting which is actually quite straight forward. If you check out my research blog, you can see points of how temperature, duration, and even humidity can impact the aroma compounds formed during roasting. However, this can come later on.
If you have a great source of cacao, it really is not that hard to turn it into chocolate. Don’t make this more complicated by automatically playing around with roasting. As long as your cocoa beans are roasted well (not too light, but also not too dark), then you should have a very nice cocoa bean flavour profile to work with. In the future, when you feel like you have the overall chocolate making process down, you can start playing around more with roasting. Perhaps use one batch of cocoa beans and do 3 roast profiles (1 under roast, one usual roast, and one darker roast) and refine those separately to see which ones you like more.
With under-roasting, you risk having your cocoa beans remain very acidic, and sometimes more bitter. As well, many aroma compounds may not form or form enough at lower roasting temperatures. With over roasting (which in my opinion is close to 300°C or more) will not only burn the cocoa beans, but also burn off more favorable aromas within the cocoa bean formed before or in the early stages of the dark roast.
Start fooling around with refining time
Maybe it’s the eagerness, but I’m surprised how many of my students don’t refine their chocolate long enough. Sometimes only refining for 24-36 hours. Now, the batch size does make a difference, but let us assume you are refining a few kilos of chocolate. The time the nibs and sugar are in the refiner (AKA melanger, stone grinder, wet grinder) has a massive impact on flavour development and refinement. It is believed that not only do some of the aromas become more apparent, but some new ones may be formed due to the heat of the mixture as well.
In the first few hours of refining, the more harsh flavours and acidic aromas evaporate out first. This is why chocolate refined for only 6 hours taste a lot more like the cocoa bean, as it still retains much of the wild aromas built up during fermentation. We don’t want too much of that in our chocolate. Now most refiner manufactures will allow you to keep the refiner going for up to 72 hours, but check with manufacturer of your refiner to be sure how long it can remain on. Many people stop at 24 hours, and wonder why their chocolate does not taste as interesting, or still has some flavours they wish would be gone. Keep refining! As well, don’t forget to taste the chocolate as often as you can to really get a sense of how the flavour is developing.
My suggestion to all beginners is play more with refining than with roasting. Take your first few batches all the way to as long as they can be refined in that machine, and remove samples of chocolate ever 12 hours. Go back and taste your chocolate samples at each of the 12 hour intervals (or more if you can), and you will be amazed how not only the texture changes, but the flavour profiles. Do this a few times, and you will begin to find a “soft spot” for how long you prefer to refine your chocolate. Obviously, the cacao itself will also require different refining times.
lid on lid off
Remember how I said in the first few hours, those harsh acidic aromas you don’t want in your chocolate evaporate out? Well, if your beans are quite acidic or pungent, removing the lid for your refiner may help those escape to a greater degree. After you have added your sugar and much of that harshness has been removed, you can place the lid back on. I don’t play around with the lid too much, but it has been known to make a difference depending on the beans you are refining. Something to consider.
experiment with sugars
As long as your sugar is in a dry crystalline form, you can add any sugar or sweetener you want. The type of sugar you use may also impart flavours on the chocolate overall. Using standard white refined sugar will only add sweetness without really impacting the flavour of the chocolate (that will all be dependent on the beans). Using unrefined sugar will begin to impart some of the flavour still contained within the sugar. Using an unrefined whole sugar such as panela or jaggery will impart even more flavour to the chocolate as well.
Now this can be good or bad depending on how much of a purist you are. Adding something like panela for some makers, although tasty, is like adding vanilla to your single origin bar. Again, nothing wrong with real vanilla, but now the flavour of the simple single origin dark chocolate is not only about the flavour of the bean, it’s about added flavours as well. Something to consider if you really want only the flavour of the bean to shine, or if you want to perhaps improve the flavour of your chocolate by selecting a more flavourful sugar.
Other sugar alternatives such as maple sugar, lucuma, and sugar substitutes are also options for some, but I would again try and master making chocolate with cane sugar before jumping into alternative sugars so you can improve your skill and confidence before experimenting.
Do you need a conche?
No. A conche is another type of equipment that you use after your chocolate has been refined. It’s quite expensive, and not necessary to make incredible bean-to-bar chocolate. The benefit of a conche is that you have more control over the temperature over the nearly finished chocolate as it moves back and forth. Control over this temperature will also help you have more control over the flavour of the chocolate as it changes the aroma makeup of the chocolate. Chocolates that do use a conche often tend to be bars that have a more refined/subtle flavour profile than those chocolate bars that were made only with a refiner. So, if you are new to making chocolate and want to do it right, don’t feel you need to buy a conche. If you grow, then you may consider it in the future, but it is not necessary. Many well known brands of fine chocolate do not use a conche and do a superb job.
Aging can be a good thing
I’m not talking about wrinkles around your eyes, although aging gracefully is extremely underrated these days. But I digress. I’m talking about aging your chocolate.
Sometimes, after one’s first batch of bean to bar chocolate, the final result may not be what you were hoping for. Wait! You may not be done. Sometimes there are some harsh notes still lingering. Could be bitter, could be acidic, could just be something pronounced that you couldn’t get rid of refining. If the flavour is something very smokey/burnt, metallic/medicinal, hammy, blue cheese/moldy, then you may be out of luck as those tend to be off-flavours from the bean itself. However, if it is not one of those (or even if it is) try aging your chocolate.
There is no one way to do this, but basically you leave it and forget it for a certain amount of time. Could be a month, could be a few months. You want this chocolate to be left in a place that does not have strong odours, so that it cannot absorb these odours. It should also be in a place that is cool and dry so that the chocolate does not melt or have any condensation rest on it.
After your chocolate was refined, you can pour it into a bin or tray and let it solidify. From there, you can leave it in the bin and wrap it with some plastic or paper wrap. You can remove the block and wrap it entirely in paper or butchers paper and tape it closed. You can pour it into a parchment lined tray and wrap the entire tray. Whichever way you do it, it may help mellow out those crazy aromas you are not too happy about, and may even make some other aromas shine through much more.
You don’t have to age it. If you love the chocolate the way it is right after it is finished in the refiner, there is no need to age it. Aging is something I do with chocolate that for some reason didn’t turn out the way I wanted, and has some strong notes I’m not crazy about. Depending on how intense it is, leave it for a month or a few, and come back to it. I may work, or it may not, but it’s worth a shot. And if you are letting it sit for months, feel free to try it as it ages to see if you can taste any progress.
Keep cool and don’t loose your temper
Be patient; take your time
I mean this in more ways than one. Once you have made bean to bar chocolate a few times, you will see how was it really is. The hard (or fun) part after that is finding the cacao you love, and finding the right roasting/refining points that work best with that bean. In the meantime, be patient with yourself. Even the top chocolatiers in the world don’t even know how to make their own chocolate from bean to bar! So give yourself some credit. In some ways, chocolate is forgiving, but you need to be patient with it. It’s more like making bread than making muffins or cookies. You can’t rush it, the chocolate will tell YOU when IT is ready. Take your time sorting, roasting, winnowing. Take your time adding the nibs to the refiner. Be happy it may take 2-3 days to refine and taste it as much as you can along the way. Get friends and family to taste it too (only the ones who are blunt and honest - those are my favourite).
Tempering
So, keep in mind that if you want to make beautiful shiny bars and little cute chocolates and bonbons, you will also have to learn how to temper. It’s a steep learning curve for most, and you will require patience as well, but it’s not impossible to learn!
However, you just made some incredible chocolate from scratch! And there is so much you can do with it that does not require tempering. Here is a list of a few:
Grate it or grind it up into a powder like substance, and use it to make your hot chocolates or mochas (better than cocoa powder). Heat up your milk and mix it in with a whisk or small cordless hand whisker. You can even add it to your milk as a powder and froth it together under your steamer on the espresso machine!
Melt it and use it in a ganache recipe
Melt it and use it in any cake recipe
Chop it up into little chunks and mix into your cookies or muffins instead of store-bought chocolate chips
Melt it, mix it with milk, and chill it to make your own bean-to-chocolate milk. Use this to make a creamy cocktail.
Melt it and use it in chocolate ice cream or mouse recipes
Cut a few pieces and place them on your toast. Place it in the toaster oven until the chocolate melts and toasts around the edges.
There are tons of ways of enjoying your homemade chocolate that does not require tempering. Something to keep in mind.
If you do want to temper it into bars and shapes, feel free to book a tutoring lesson with me here.
Don’t give up!
Whatever you do, don’t give up. As a beginner making it at home, the most tedious and frustrating aspects for most are:
The winnowing (removing the shell from the bean) which requires some work if you don’t have a winnower.
Tempering your freshly made chocolate.
And if you are having trouble roasting or think something is wrong with your recipe, again feel free to contact me for help. My tutoring lessons are very practical, one-on-one, and not very expensive. My goal here is to really help those who need it and cant afford courses that cost thousands of dollars. If you want to learn to make chocolate, I want to help you! For some, they get it right away. For others, it may take much longer, and more mistakes before it clicks. That’s okay. We are all like this in different aspects of our lives.
Also, don’t forget to check out the online academy for other free content that you may find helpful.